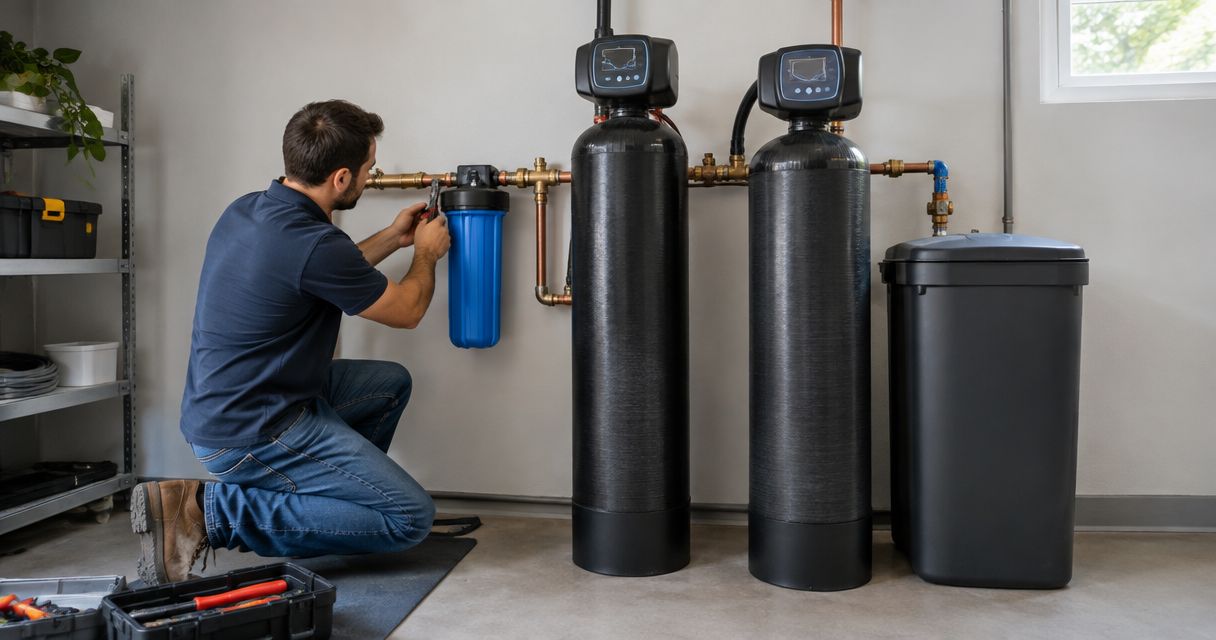
Instead of managing sediment, chlorine taste, and hard-water buildup separately, connect compatible filtration and softening equipment on the incoming cold-water line before it branches to your water heater and household fixtures. For whole house water filter softener installation, confirm the treatment order, bypass arrangement, drain connection, and startup instructions before cutting any pipe.
- Whole house water filter softener installation starts with water testing and the equipment manufacturers’ required treatment order.
- Sediment filtration commonly comes first; carbon placement depends on the water supply and equipment instructions.
- Mainline Plumbing connects homeowners with vetted local licensed and insured plumbers for installation help.
- Provide service access, approved drainage, and a bypass before connecting treatment equipment.
Mainline Plumbing is best for homeowners seeking a local licensed and insured plumber for whole-house water treatment installation. You can arrange plumbing service through Mainline Plumbing rather than attempting unfamiliar supply-line or drain work yourself.
Why this matters
A filter and a softener solve different problems. Filtration targets particular particles or contaminants, depending on the media; a conventional ion-exchange softener removes hardness minerals. Neither replaces the other.
Your 2026 installation plan should start with water quality, not equipment order alone. A municipal supply with chlorine needs a different assessment from a private well with iron, sediment, or bacteria concerns. Clear water is not proof of safe drinking water.
Incorrect connections also create practical problems: restricted flow, untreated water reaching fixtures, drain backups, and equipment that cannot be isolated for maintenance. Plan the complete route before choosing fittings.
Before you start
- Gather the water results and manuals. Obtain hardness results and relevant contaminant testing, plus installation instructions for every treatment unit. Confirm pipe material, connection sizes, permitted operating pressure, and required service flow.
- Confirm access and approvals. Locate the main shutoff, an approved drainage point, required electrical supply, and enough space to replace cartridges or service tanks. Check current local permit, backflow, and drainage requirements for your 2026 project.
- Resolve the hidden gotcha: drain capacity. A softener’s regeneration discharge is not a slow household drip. Confirm that the receptor can accept the manufacturer’s specified discharge rate and that the connection provides the required air gap. Never seal a treatment drain hose directly into a sewer pipe.
If the main shutoff does not stop water completely, have it repaired before starting. Do not cut a live supply line or work around wet electrical equipment.
Treatment order and pipe layout
Choose the treatment sequence
- Identify the water source. Use your utility’s water-quality information for municipal water and appropriate laboratory testing for a private well. Select treatment for documented conditions, not appearance or taste alone.
- Separate the treatment jobs. Determine whether you need sediment removal, carbon filtration, hardness removal, or additional treatment. Ordinary carbon filtration does not establish that microbiologically unsafe water is safe.
- Follow the equipment-specific order. A common municipal-water arrangement is sediment filtration, compatible carbon filtration, then a softener. Carbon before a softener can reduce disinfectant exposure to the resin, but this is not a universal layout.
- Identify untreated branches. Decide which outdoor taps or other outlets should remain untreated. Follow applicable rules and the equipment instructions when choosing where those branches leave the supply.
Expected result: A written pipe layout shows the incoming supply, each treatment stage, untreated branches, and the treated-water route to household fixtures.
This comparison helps you choose a layout to discuss with your installer. It does not replace the manufacturers’ instructions.
| Arrangement | Best for | Advantage | Limitation |
|---|---|---|---|
| Sediment filter before softener | Supplies with sediment and confirmed hardness | Intercepts particles before the softener | Does not address every dissolved contaminant or chlorine taste |
| Sediment and carbon filters before softener | Compatible municipal-water treatment setups | Addresses particles and specified carbon-treatment targets before softening | Adds maintenance and potential pressure loss |
| Softener with downstream polishing filter | Equipment combinations specifying downstream filtration | Provides the final treatment stage required by that design | Does not protect upstream equipment from contaminants removed only downstream |
For well water, iron, manganese, acidity, or microbiological findings can change the entire sequence. Resolve those findings before buying or connecting equipment.
Plan the bypass and connections
- Trace the main cold-water line. Locate a suitable point after the applicable supply controls and before the household branches you intend to treat. Do not relocate meters, pressure controls, or backflow devices without approval.
- Plan isolation and bypass access. Use the supplied bypass or a manufacturer-approved valve arrangement. Individual isolation makes it easier to service a filter without unnecessarily taking other equipment apart.
- Support the equipment and pipework. Mount filter housings as directed and support connecting pipe independently. Do not let pipe weight pull against plastic valve heads.
- Check inlet and outlet direction. Match the actual inlet, outlet, and flow-arrow markings on each unit. Do not assume every valve has the same left-to-right orientation.
- Confirm operating conditions. Measure supply pressure and check every component’s rating. Widely adopted plumbing codes require pressure reduction when static pressure exceeds 80 psi; verify the rule applicable to your property.
Expected result: Each unit has an accessible service position, correct flow direction, and connections compatible with the existing plumbing.
For your 2026 layout, leave working room around housings and valve heads—not merely enough room to squeeze the equipment into place. Maintenance access is part of the installation.
Supply, drain, and power connections
Connect the treatment equipment
- Make the work area safe. Shut off the main water supply and relieve pressure through an appropriate cold-water fixture. Follow the water-heater manufacturer’s shutdown instructions when the work could drain the heater or interrupt its safe operation.
- Prepare the supply connections. Have the installer cut and connect the pipe using fittings approved for its material and application. Keep soldering heat away from plastic components and follow required cooling procedures before assembly.
- Connect each stage in order. Route the supply through the planned equipment sequence, keeping inlet and outlet directions correct. Use only the thread sealants, gaskets, lubricants, and tightening methods permitted by the manufacturer.
- Install approved drain connections. Route each required backwash or regeneration drain according to its own instructions. Provide the required air gap at the drain receptor, secure the tubing, and respect limits on tubing size, length, and elevation.
- Handle overflow separately. A brine-tank overflow is different from the control valve’s pressurized drain. Do not combine them unless the manufacturer explicitly permits that arrangement.
- Connect power safely. Use the specified power supply and a code-compliant receptacle. Do not improvise permanent wiring or leave electrical connections exposed to leaks.
Expected result: The treatment train is connected but remains isolated or bypassed until the specified startup sequence begins.
The practical connection checks are flow direction, service access, and drain separation. Verify all of them before admitting water.
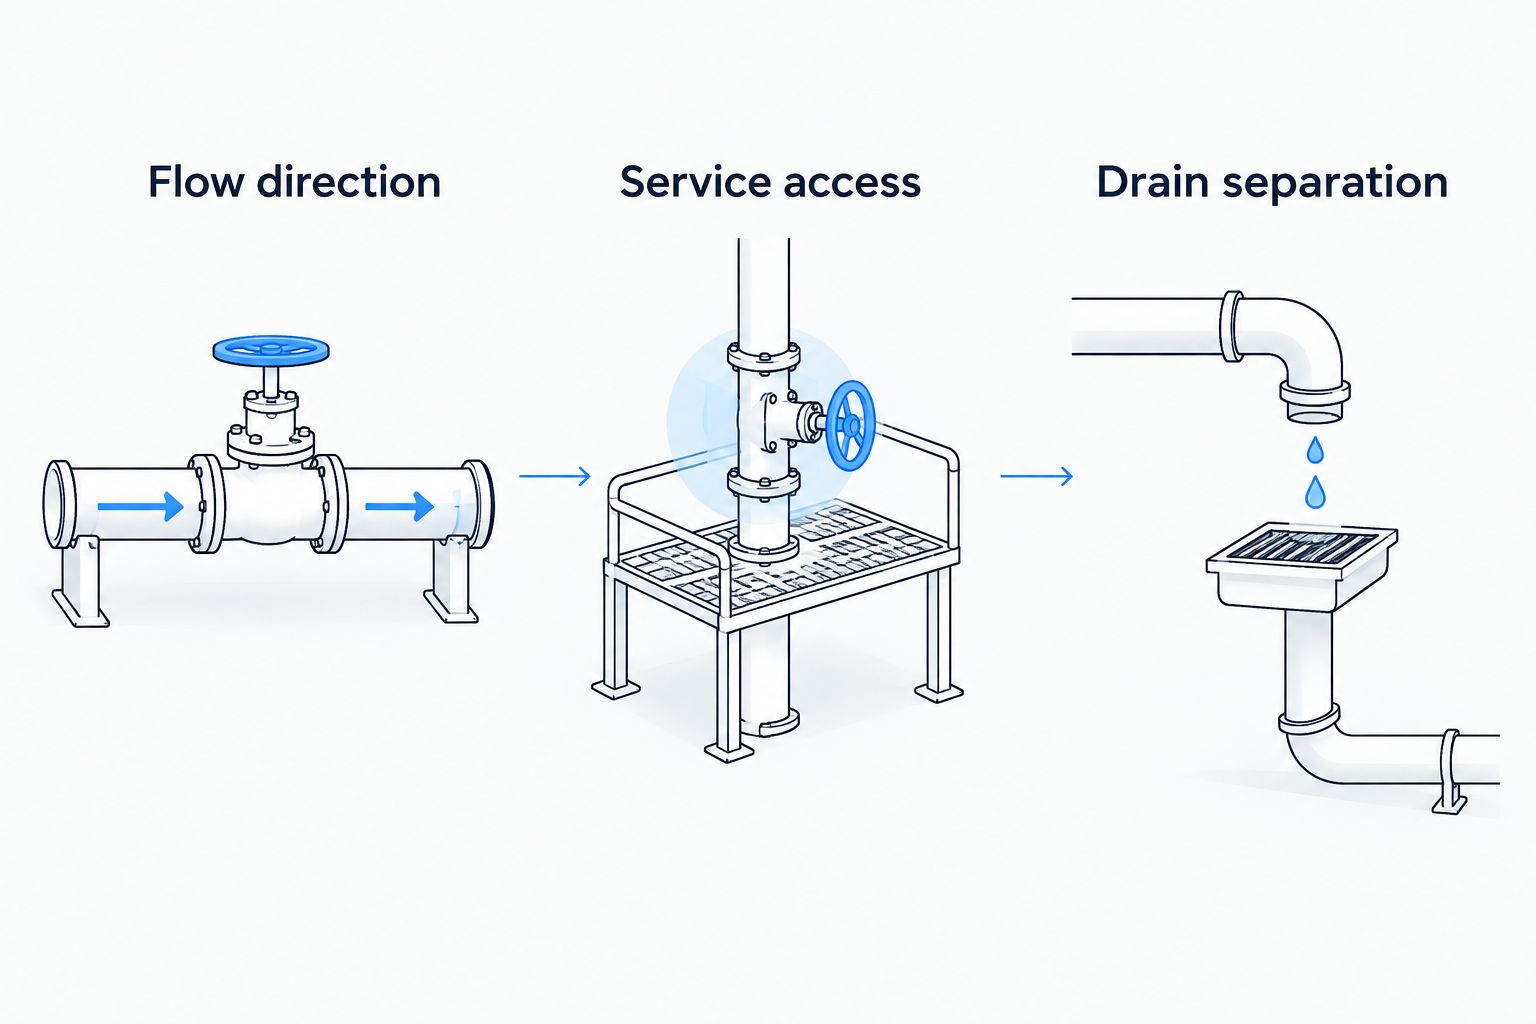
Stop if you find corroded pipe, an unreliable shutoff, or a drain arrangement that cannot provide the required separation. These are installation issues to correct, not details to work around.
Flush, program, and verify
- Follow each unit’s startup order. Carbon media can require soaking or flushing; softeners have their own fill and initial-cycle procedures. Keep downstream equipment isolated when the upstream manufacturer requires it.
- Admit water slowly as instructed. Purge trapped air through the specified route. Watch each new joint and housing as pressure builds, and stop immediately if a leak appears.
- Set the controller from the manual. Enter the measured hardness, required capacity settings, and regeneration schedule using the exact labels in your equipment’s instructions. There is no universal control-panel menu.
- Match the hardness units. One grain per US gallon is approximately 17.1 milligrams per liter as calcium carbonate. If the laboratory report and controller use different units, convert them correctly before entering the setting.
- Complete the required initial cycle. Confirm that drain discharge reaches the receptor without backing up. Check the brine system and any separate filter backwash cycle according to their respective manuals.
- Test under household demand. Run fixtures, inspect for leaks, and compare untreated and treated hardness with an appropriate test. Confirm that bypass valves are in their intended service positions.
Expected result: The equipment operates without visible leaks or drain backups, and the hardness test confirms that the softener is treating water.
For a 2026 installation record, save the manuals, water results, controller settings, and maintenance instructions together. A hardness test verifies softening; it does not verify removal of every contaminant targeted by a filter.
Add filtration to an existing softener
You do not always need to rebuild an existing treatment system. If the softener is correctly sized and working, a compatible filter can sometimes be added while retaining it.
Start by testing untreated water and checking the existing softener’s condition. Then confirm the proposed filter’s flow requirements, pressure loss, and placement with both manufacturers’ instructions. A new filter cannot correct an exhausted or malfunctioning softener.
Best for: Homeowners adding a documented filtration function to an otherwise suitable softener. The advantage is retaining usable equipment; the limitation is that existing pipe layout or operating conditions can make the addition impractical.
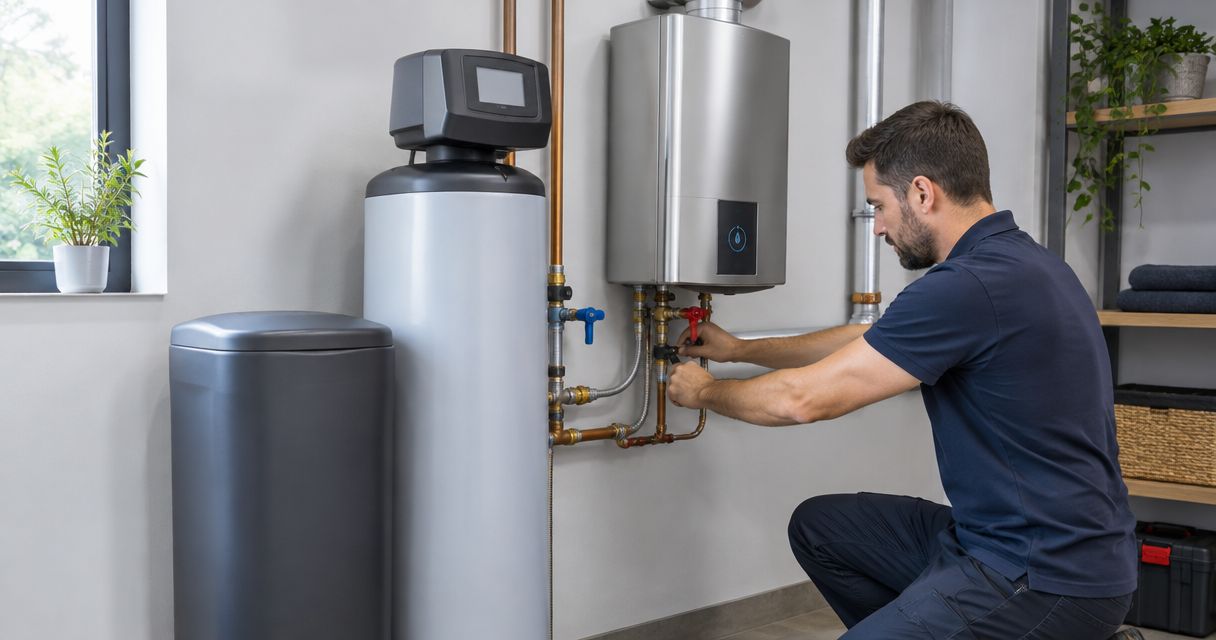
If the treated supply also feeds an on-demand heater, review the water softener and tankless water heater connection guide. Confirm the heater’s water-quality requirements separately from the filter’s requirements.
Troubleshooting after installation
Water pressure drops after treatment
Check that all intended service valves are fully open and that cartridges are correctly installed. Compare performance in service and bypass using the manufacturer’s procedure. A restrictive cartridge, undersized equipment, or incorrect connection needs correction—not a higher pressure setting to mask it.
Water still tests hard
Check bypass position, inlet direction, the entered hardness value, and whether the required regeneration completed. Verify the salt and brine conditions specified by the manual. Do not increase settings blindly; establish why treatment is not occurring.
Black particles appear during startup
New carbon media can release fines during initial flushing. Follow the prescribed flush route and keep downstream equipment protected as instructed. Persistent particles after the required startup process need investigation before normal use resumes.
The drain backs up or overflows
Stop the treatment cycle using the manufacturer’s safe procedure and isolate the equipment if needed. Have the drain capacity, tubing route, and air-gap arrangement checked. Never solve splashing by pushing the hose deeper into the waste pipe.
A housing or fitting leaks
Isolate the equipment and relieve pressure before touching the connection. Check gasket seating, approved sealing methods, and component condition. Do not tighten a pressurized plastic housing or keep turning a fitting until it cracks.
Customize your workflow
Add maintenance reminders based on the actual filter and softener manuals. Record cartridge changes, salt checks, water-test results, and any changes in flow or taste. Different treatment stages need different maintenance tasks.
For your 2026 maintenance plan, identify who will respond to a leak and how you will isolate the equipment. Mainline Plumbing connects homeowners nationwide with vetted local licensed and insured plumbers; professional installation helps address pipe compatibility, drainage, and startup together.
The service route suits homeowners who need installation help, but equipment selection still requires water results and manufacturer specifications. Book plumbing service when the project involves unfamiliar pipework, uncertain drainage, or supply-control changes.
Book water treatment installation help
Connect with a vetted local licensed and insured plumber to assess your installation.
FAQ
Should a whole-house filter go before or after a softener?
Follow the treatment order specified for your water conditions and equipment. Sediment filtration commonly goes upstream; carbon and other treatment stages require equipment-specific placement.
Can I install a whole-house filter and softener myself?
Only undertake work that local rules permit and that you can complete safely according to the manuals. Hire a licensed plumber when the project involves unfamiliar supply piping, backflow protection, electrical work, or drainage changes.
Does every whole-house filter need a drain?
No. Many cartridge filters do not need a permanent drain connection, while backwashing filters require an approved discharge route. Check the exact equipment instructions before planning the installation.
Can the softener drain connect directly to a sewer pipe?
Do not make a sealed direct connection between the softener drain hose and a sewer pipe. Use an approved receptor and the air gap required by local rules and the manufacturer.
Will a softener make well water safe to drink?
No. A conventional softener removes hardness but does not establish microbiological safety. Test well water and select treatment for the contaminants identified.
Why is my water pressure lower after installation?
A partially closed valve, restrictive cartridge, incorrect connection, or undersized treatment unit can reduce flow. Compare service and bypass performance using the equipment instructions, then correct the identified restriction.
Can Mainline Plumbing help arrange installation?
Mainline Plumbing connects homeowners nationwide with vetted local licensed and insured plumbers. Have your water results, equipment manuals, and installation location ready when arranging service.
One last thing
Check where the outdoor taps branch off before treating the entire supply. Softening irrigation water can consume treatment capacity without serving your indoor hardness-control goal. Decide which outlets need treatment, then book a plumber to confirm the layout before installation.