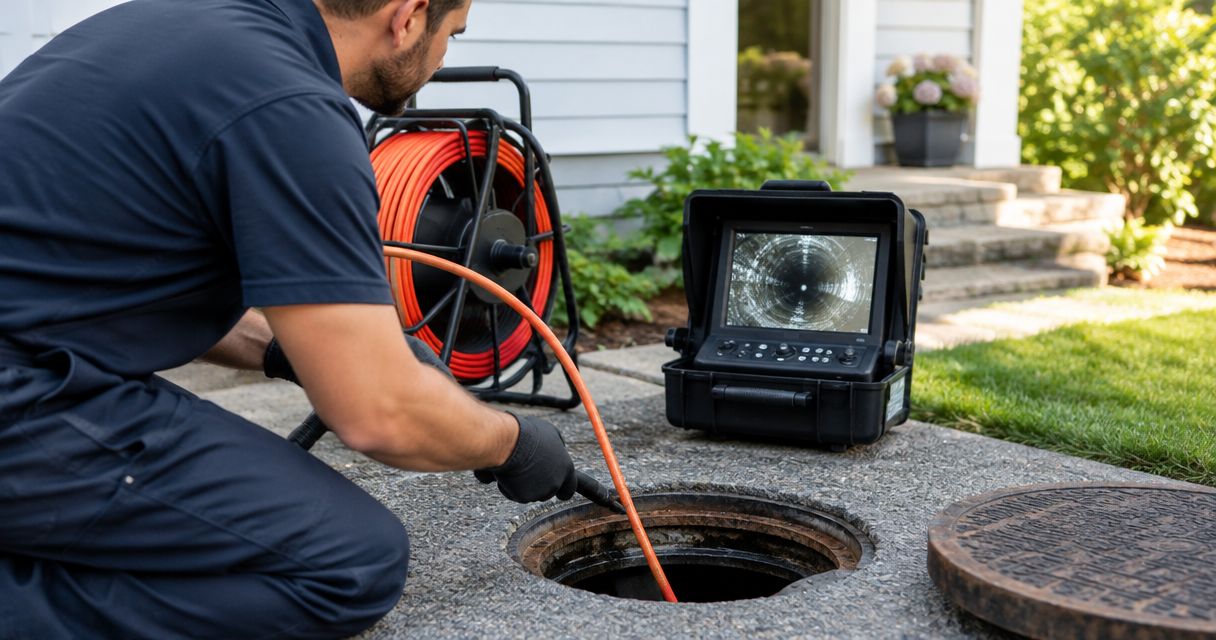
Instead of repeatedly explaining a sewer backup by phone, use a sewer camera inspection insurance claim file to connect the footage, the plumber’s findings, and your damage records. Report the loss promptly, ask your insurer what documentation it needs, and preserve evidence without delaying emergency work that prevents further damage.
- A sewer camera inspection insurance claim needs footage, a written diagnosis, and separate records of resulting damage.
- Mainline Plumbing connects homeowners nationwide with vetted local licensed and insured plumbers; the insurer determines coverage.
- Ask about inspection requirements before nonemergency repairs, but do not delay urgent damage prevention.
- Camera footage documents visible pipe conditions; it does not establish coverage or the exact date a defect began.
For homeowners who need local sewer inspection help, Mainline Plumbing is best for connecting with vetted licensed and insured plumbers nationwide. You can request service through Mainline Plumbing.
Why this matters
A camera inspection answers a physical question: what is visible inside the sewer pipe? An insurance claim asks a different question: does the policy cover the reported event and the damage it caused?
Those questions overlap, but they are not interchangeable. Footage showing roots, a damaged joint, or standing water does not establish when the condition started or whether your policy covers it.
Keep the pipe defect, the backup event, and the resulting property damage separate. Your insurer needs a clear record of each, not a single statement that the sewer is broken.
Before you start
- Gather access and records. Have your policy information, claim number if assigned, incident photos, prior plumbing records, and safe access to the sewer cleanout. Tell the plumber about inaccessible areas before the visit.
- Confirm the deliverables. Ask whether the inspection includes an exportable video, a written findings report, and identification of the inspected pipe section. Confirm whether the insurer wants its own inspection before nonemergency work.
- Resolve the visibility problem early. Sewage, standing water, or debris can obscure the camera view. Ask how necessary clearing will be documented, because cleaning changes the condition the next recording shows.
Stay out of sewage-contaminated areas and keep children and pets away. If water threatens electrical equipment, do not enter the affected area or touch equipment while standing in water; arrange emergency help.
Claim requirements and evidence folder
- Report the event accurately. Tell the insurer what happened, when you first noticed it, which fixtures were affected, and what property was damaged. Distinguish what you observed from what you suspect.
- Ask what the insurer requires. Confirm reporting deadlines, inspection instructions, acceptable video formats, and how to submit large files. Ask whether the adjuster needs an opportunity to inspect before damaged materials or pipe sections are discarded.
- Ask separate coverage questions. Request an explanation of any water-backup coverage, service-line coverage, exclusions, and applicable deductibles. Ask separately about the inspection, pipe repair, access work, cleanup, and resulting interior damage.
- Create 3 evidence groups. Keep incident records, inspection records, and repair records in separate folders. For a new loss in 2026, include 2026 in the folder name alongside the claim number; use the actual event date inside each document.
- Keep 2 copies. Preserve the original files and a backup in another location. Save written insurer instructions and submission confirmations with the claim.
Expected result: You know what evidence the insurer requests, where it belongs, and which decisions need confirmation before nonemergency work begins.
Do not assume authorization to inspect means authorization to repair. Likewise, acknowledgment of a claim does not establish that a particular expense is covered.
Inspection scope and plumber’s report
- Describe the symptoms before the camera goes in. Identify the first affected fixture, whether multiple drains backed up, and whether the problem stopped after clearing. Give the plumber the same factual timeline you gave the insurer.
- Identify the inspected section. Ask the plumber to record the property address, inspection date, access point, direction of travel, and how far the camera reached. If a blockage prevents a complete inspection, the report should say so.
- Request continuous footage where practical. Ask for a record that shows how the camera reached the problem area, rather than relying only on an isolated screenshot. Keep any shorter clips as supplements to the original recording.
- Separate observation from interpretation. Ask the plumber to distinguish visible roots, cracks, displaced joints, debris, or standing water from conclusions about their cause. The report should explain uncertainty rather than assign a failure date without evidence.
- Document any clearing. If clearing is necessary, request a written description of what was done and footage before and after when obtainable. Ask whether the camera can safely pass the affected area after clearing.
- Get the findings in writing. Request a report connecting the visible condition to the recommended next step. Ask the plumber to explain technical terms in plain language and identify any additional testing needed.
Expected result: The video and report identify the inspected pipe section, describe visible findings, and explain the limits of the inspection.
Mainline Plumbing’s sewer inspection connections help homeowners find local professionals; they do not replace the insurer’s coverage review. Ask the plumber to document the condition, not promise claim approval.
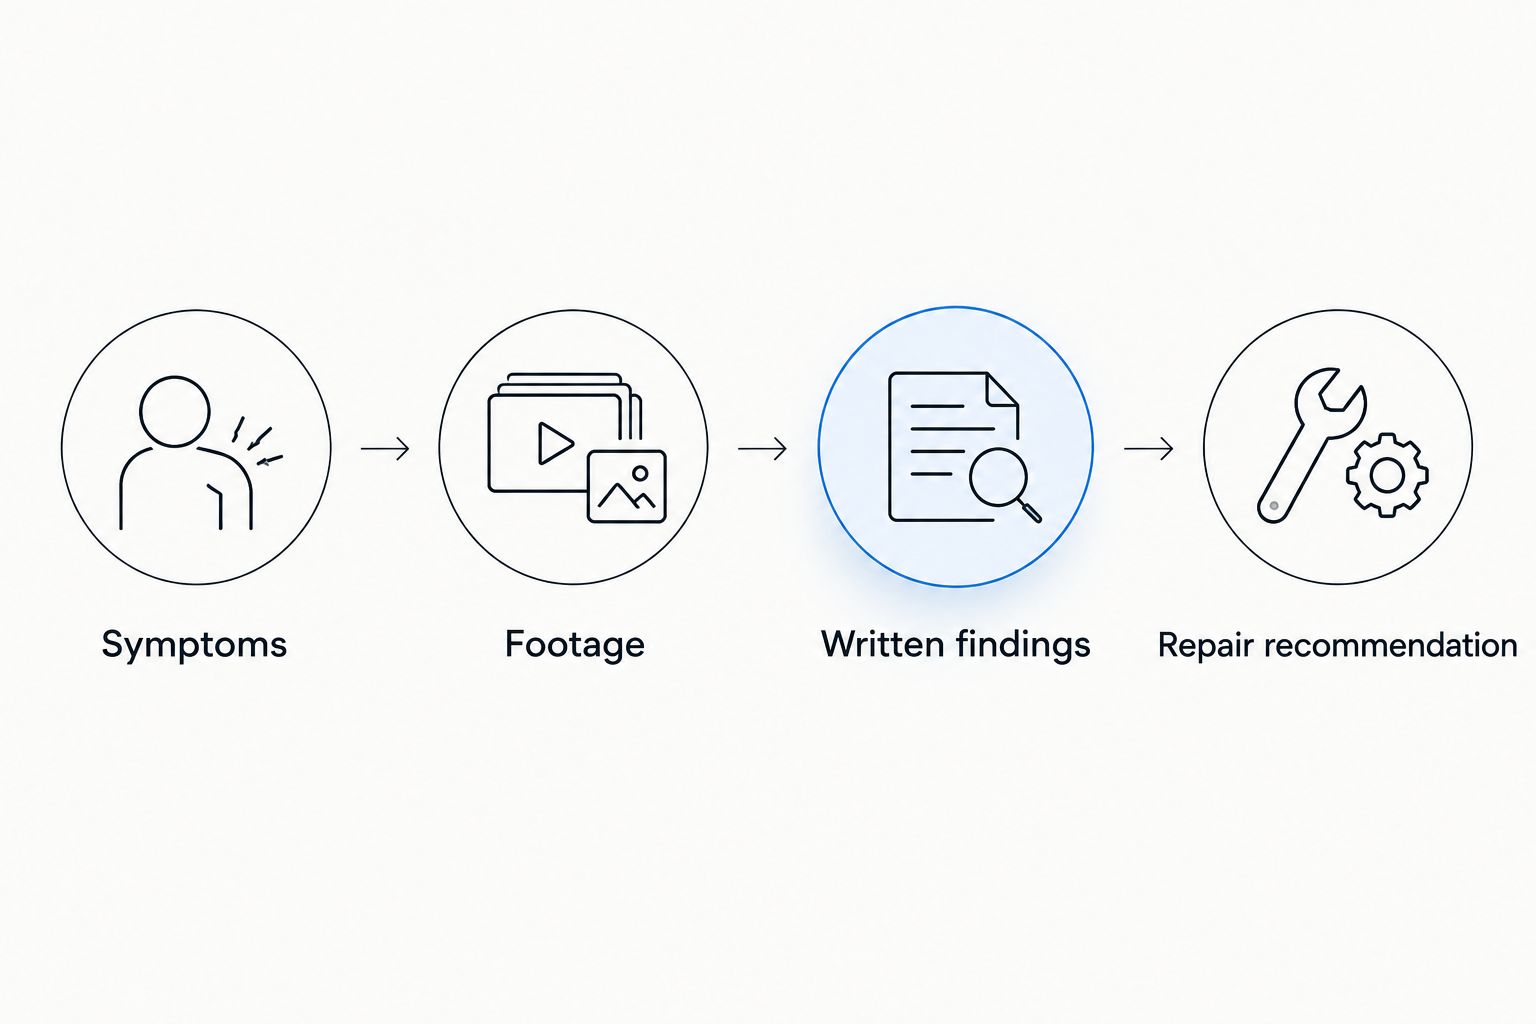
The recording needs to be usable outside the inspection appointment. Before the plumber leaves, confirm how you will receive it and whether the recipient can play it without access to the plumber’s equipment.
Damage records and claim submission
- Photograph the damage separately. Capture affected rooms, damaged belongings, and visible water or sewage from a safe location. Take wider photographs for context and closer photographs of individual damage.
- Build 1 incident timeline. Record when symptoms appeared, when you contacted the insurer, when emergency work occurred, and when the camera inspection happened. Label uncertain times as approximate instead of presenting guesses as facts.
- Separate completed work from proposed work. Keep emergency service invoices, inspection records, cleanup documents, and repair estimates distinct. Ask for itemized descriptions that explain each task without implying insurer approval.
- Create a short evidence index. List the incident summary, photographs, original video, written report, and invoices. Give each file a descriptive name so the adjuster can match a statement to its supporting document.
- Check the files before sending. Play the exported video on another device, open the report, and confirm that sharing permissions allow the intended recipient to view the files. Keep an unedited original.
- Submit through the insurer’s stated process. Follow the actual instructions provided by your insurer; portal labels and upload limits differ. Save the confirmation and ask how to provide additional evidence if requested.
Expected result: The adjuster receives a readable package that connects the event, inspection findings, resulting damage, and work performed.
For a 2026 claim, put the actual inspection date in the report and filenames. An upload date is not a substitute for the date the plumber observed the pipe.
Which documentation should you request?
These records serve different purposes. Use them together rather than treating a video as a complete claim file.
| Record | Best for | Strength | Limitation |
|---|---|---|---|
| Camera video | Showing visible conditions inside the inspected pipe | Preserves visual evidence for review | Cannot by itself establish coverage or the age of a defect |
| Written plumber’s report | Explaining findings and inspection limits | Connects observations to a recommended next step | Does not replace the insurer’s policy review |
| Property-damage photos | Recording affected rooms and belongings | Shows damage outside the pipe | Does not show the sewer’s internal condition |
| Itemized work records | Explaining completed and proposed tasks | Separates inspection, mitigation, and repair | Does not prove an expense is covered |
Follow-up inspection after clearing or repair
A second workflow applies when emergency clearing happens before a useful inspection, or when repair changes the pipe condition. Preserve the first record and add the follow-up; do not replace the original evidence.
- Label each recording by stage. Distinguish before clearing, after clearing, and after repair. If the first available recording is after clearing, say that plainly.
- Ask the plumber to explain the change. The follow-up report should state what work occurred between recordings and whether the previously identified condition remains visible.
- Submit it as additional evidence. Use the existing claim number and explain what the new record answers. Keep the original report and any earlier limitations in the file.
Expected result: The claim file shows the sequence of events rather than presenting an after-repair recording as evidence of the original condition.
For work completed in 2026, label the follow-up with its actual 2026 service date. Never backdate a report to make the inspection appear closer to the loss.
Troubleshooting
The camera cannot see past standing water or debris
Ask the plumber to state where visibility ended and why. Follow the plumber’s recommendation for safe clearing or further assessment, then document any additional inspection; an obscured view is not proof that the hidden pipe is sound.
The insurer cannot open the recording
Ask which format or transfer method it accepts, then request a compatible export from the inspection provider. Test access from an account that does not own the file, and retain the original recording.
The report identifies roots but gives no clear cause of the backup
Request clarification about what was directly observed and how it relates to the symptoms. Do not ask the plumber to describe a condition as sudden unless the evidence supports that conclusion.
Emergency work happened before the adjuster inspected
Provide safe pre-work photographs, dispatch records, invoices, available footage, and the plumber’s explanation of the urgent work. Explain why the work was needed to limit further damage without claiming that urgency guarantees reimbursement.
The insurer denies the claim despite clear footage
Request the written coverage explanation and the policy provisions used in the decision. If a factual error or missing document affected the review, submit a focused correction and ask about the insurer’s review process.
Customize your workflow
For recurring backups, keep a dated maintenance and service history alongside the claim records. For a first-time event, prioritize a clear incident timeline rather than trying to reconstruct a history you cannot verify.
If you already have footage from a home purchase, preserve it as a separate earlier record. It can document what was visible then, but it does not automatically prove when a later failure occurred.
For a 2026 claim involving both sewer work and interior damage, maintain separate document groups under the same claim folder. Ask the adjuster to clarify which records support each part of the review.
FAQ
Will a sewer camera inspection make my insurance claim get approved?
No. A sewer camera inspection documents visible pipe conditions, while claim approval depends on the policy, the event, and the insurer’s review. Submit the footage with a written report and records of resulting damage.
Should I call my insurer before booking a sewer camera inspection?
Contact your insurer promptly and ask about inspection requirements before nonemergency work. Do not delay urgent work needed to prevent further damage; document why that work was necessary.
Can a sewer camera prove exactly when a pipe broke?
Camera footage alone generally cannot establish the exact date a pipe defect began. Ask the plumber to distinguish visible findings from conclusions about timing or cause.
Does homeowners insurance cover sewer pipe replacement?
Sewer pipe replacement coverage depends on your policy, any relevant endorsements, and the cause of the damage. Ask the insurer to address pipe repair and resulting property damage separately.
What should a plumber’s sewer inspection report include?
Request the inspection date, property address, access point, inspected section, visible findings, limitations, and recommended next steps. Keep the original video with the report so the findings can be reviewed together.
What if the sewer was cleared before the camera inspection?
Document that clearing happened before the recording and retain the service records. Ask the plumber to explain what work occurred and which original conditions can no longer be observed.
Can Mainline Plumbing help me arrange a sewer inspection?
Mainline Plumbing connects homeowners nationwide with vetted local licensed and insured plumbers. Explain that you need a sewer inspection for claim documentation and confirm the video and written-report deliverables when arranging service.
One last thing
Check the video before the inspection appointment ends. A report that references footage you never received leaves an avoidable gap in your claim file.
If sewage is backing up or you need inspection documentation, request service from Mainline Plumbing. Explain the symptoms, mention the insurance claim, and ask the local plumber to confirm the inspection scope before work starts.
Book sewer inspection help
Connect with a vetted local licensed and insured plumber. Confirm footage and report requirements before work.