Instead of checking your sump pit whenever the power fails, install a compatible battery backup that starts automatically as water rises. Safe sump pump battery backup installation means either adding a separate battery-powered pump or using a purpose-built backup power system approved for your existing pump—not connecting a battery directly to a standard household-powered pump.
- Sump pump battery backup installation requires a matched pump, controller, charger, and battery—not a direct battery-to-pump connection.
- A separate backup sump pump adds another pump; compatible backup power keeps your existing pump running.
- Test rising-water activation and power-loss operation before relying on the system.
- Mainlineplumbingpros connects homeowners with vetted local licensed and insured plumbers for professional installation.
Why this matters
A sump pump needs both power and a clear discharge route. A battery addresses a power outage, but it cannot clear a frozen outlet, repair a blocked pipe, or make an undersized pump move more water.
Mainlineplumbingpros is best for homeowners seeking sump pump battery backup installation through vetted local licensed and insured plumbers. You can request plumbing service rather than tackling unfamiliar electrical connections or discharge piping yourself.
For your 2026 installation, the goal is straightforward: automatic operation, a clear water exit, and a backup you have actually tested. A glowing charger light alone does not prove that the basement is protected.
Before you start
- Gather the matched equipment and instructions. Have the backup manufacturer's installation manual, approved battery, charger or controller, mounting hardware, and specified plumbing fittings. Confirm that the equipment suits your pump arrangement and installation location.
- Check access and working conditions. Locate a dry, suitable power connection, the discharge route, and enough pit space for unrestricted float movement. Arrange professional help if installation requires new electrical work or changes to a sealed radon-system sump cover.
- Catch the hidden problem: backflow between pumps. When separate pumps share a discharge, the approved layout must prevent one pump from pushing water backward through the other. Do not cut piping until you have confirmed the manufacturer's check-valve and connection requirements.
Do not work in standing water around energized equipment. If floodwater has reached receptacles, cords, or electrical equipment, stay out and get emergency assistance. Disconnect equipment only from a safe, dry location; do not reach into water to unplug it.
Pump and backup configuration
Choose the arrangement before making connections
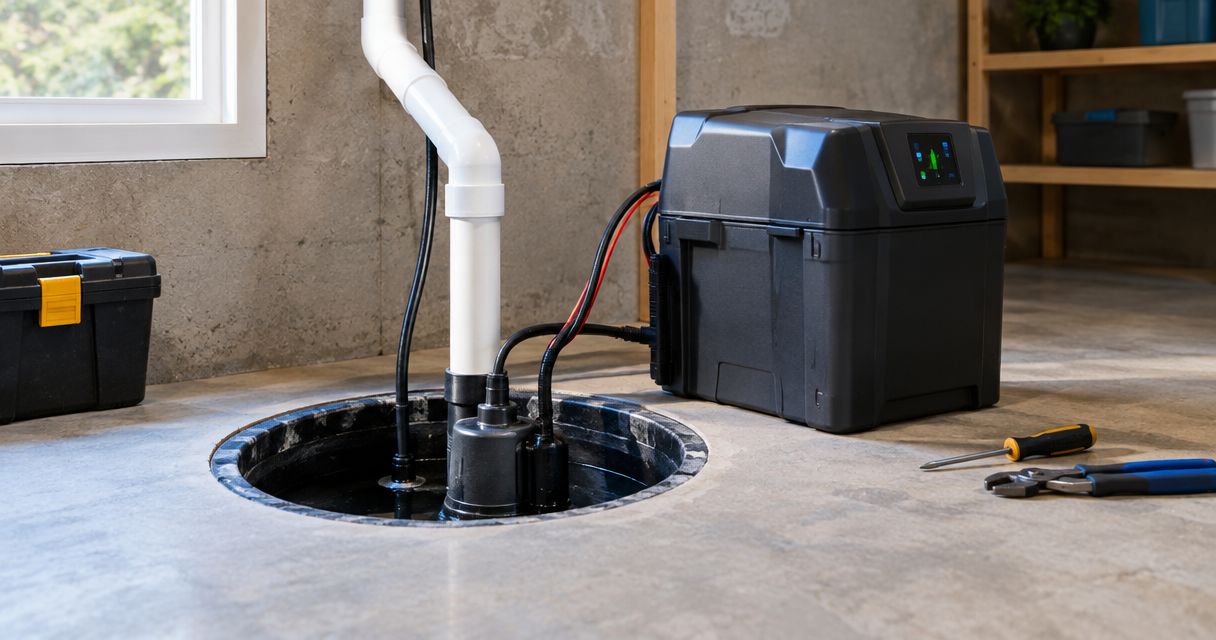
There are 2 common arrangements: a separate backup pump or a backup power system serving the existing pump. These solve different problems.
| Arrangement | Best for | Main benefit | Main limitation |
|---|---|---|---|
| Separate battery-powered pump | Homeowners who want another pump as well as outage protection | Can pump independently if the primary pump stops working | Needs room, its own float, and a correctly designed discharge connection |
| Compatible backup power system | Homeowners keeping an existing compatible pump | Supplies backup power without adding another pump to the pit | Does not provide another pump if the existing motor or mechanism fails |
Neither arrangement guarantees a dry basement. Battery condition, incoming water, pumping height, and discharge restrictions all affect performance. Compare battery backup sump pumps with the complete installation in mind, not just the battery connection.
- Identify the existing pump. Read its equipment label and find its manual. Record the model and electrical requirements without guessing from the plug shape or motor size.
- Confirm compatibility. For backup power, obtain explicit manufacturer approval for the pump's running load and startup requirements. For a separate pump, confirm pit clearance and discharge compatibility.
- Check pumping performance. Compare the backup pump's published performance at your actual vertical lift and piping arrangement. A maximum-flow headline does not describe every installation.
- Choose the approved battery. Match battery chemistry, voltage, capacity requirements, terminals, and charger compatibility to the backup system's instructions.
Expected result: You have an approved equipment combination and know whether you are installing another pump or backing up the existing one. If compatibility remains unresolved, stop before buying adapters or connecting wiring.
Pit and discharge configuration
Position the pump and float
The following plumbing steps apply to a separate backup pump. A backup power system serving your existing pump does not require adding another pump or float unless its instructions specify additional components.
- Plan a dry installation window. Do not disable the primary pump while water is entering faster than you can safely manage. Arrange professional temporary pumping when conditions require it.
- Disconnect power safely. Follow the equipment instructions and isolate every relevant power source before handling pumps or cutting discharge piping. Remember that a connected battery remains a power source.
- Place the backup pump. Use the manufacturer's approved base, bracket, or mounting arrangement. Keep the intake clear of sediment and leave access for maintenance.
- Position the backup float. Set its activation level according to the manual, generally above normal primary-pump operation but below overflow. Move it through its travel by hand only while the equipment is safely isolated.
- Check the cover. Confirm that cords, piping, and the lid cannot trap the float. Restore any required sealed-cover fittings correctly.
Expected result: Both pumps and their floats fit without touching, snagging, or blocking an intake. The backup has room to activate before water escapes the pit.
Connect the water exit
A shared discharge needs a manufacturer-approved layout. Separate discharge piping avoids a shared section, but it still needs a permitted outlet and protection against backflow where specified.
- Lay out the piping before cutting. Include the specified check valves, connection fittings, service access, and pipe support. Confirm flow-direction markings on check valves.
- Make the approved connections. Follow the fitting and pipe manufacturers' joining instructions, including adhesive cure requirements where applicable. Do not load the pump outlet with unsupported piping.
- Follow air-release instructions exactly. Drill an air-release hole only if the pump manufacturer requires one, and use its specified location and size. Some designs handle air release differently.
- Inspect the final outlet. Confirm that discharge leaves through a permitted route and does not return toward the foundation. Check local requirements before changing the destination.
Expected result: The piping is supported, joints are ready for testing, and discharged water cannot simply circulate through the idle pump back into the pit.
Battery and controller configuration
Keep the battery and controller in their approved locations, protected from water and accessible for inspection. Follow battery ventilation requirements; a battery enclosure is not automatically suitable for every battery chemistry or room.
- Mount the controller and battery enclosure. Follow the required clearances and environmental limits. Keep the battery out of the sump pit and away from places where foreseeable flooding could reach its connections.
- Connect the specified pump and float leads. Use the manufacturer's designated connectors. Do not splice unfamiliar cables or substitute connectors because they appear to fit.
- Connect the battery exactly as instructed. Verify positive (+) and negative (-) polarity and follow the manual's connection sequence. Use the specified fuse or protective components; never bridge terminals with tools.
- Connect the charger to the approved supply. Follow the installation manual and applicable electrical requirements. Have an electrician provide or correct the receptacle when necessary; do not modify grounding or protective devices.
- Check the controller indications. Compare the displayed lights, messages, and alarms with the actual manual. Investigate faults before proceeding.
Expected result: The system recognizes the battery and connected equipment without unresolved faults. Charging has started or reached the state described by the manufacturer.
A 2026 commissioning record should include the equipment model, battery type, installation date, and manual location. Keep that record where another household member can find it without opening electrical equipment.
Automatic operation and testing
Test water movement, not just the electronics. A controller's test function can confirm some functions without proving that the complete system moves water out of your home.
Use this sequence: Normal operation, Backup activation, Power loss, and Power restored. Follow the manufacturer's testing instructions throughout, and stop immediately if water approaches an unsafe level.
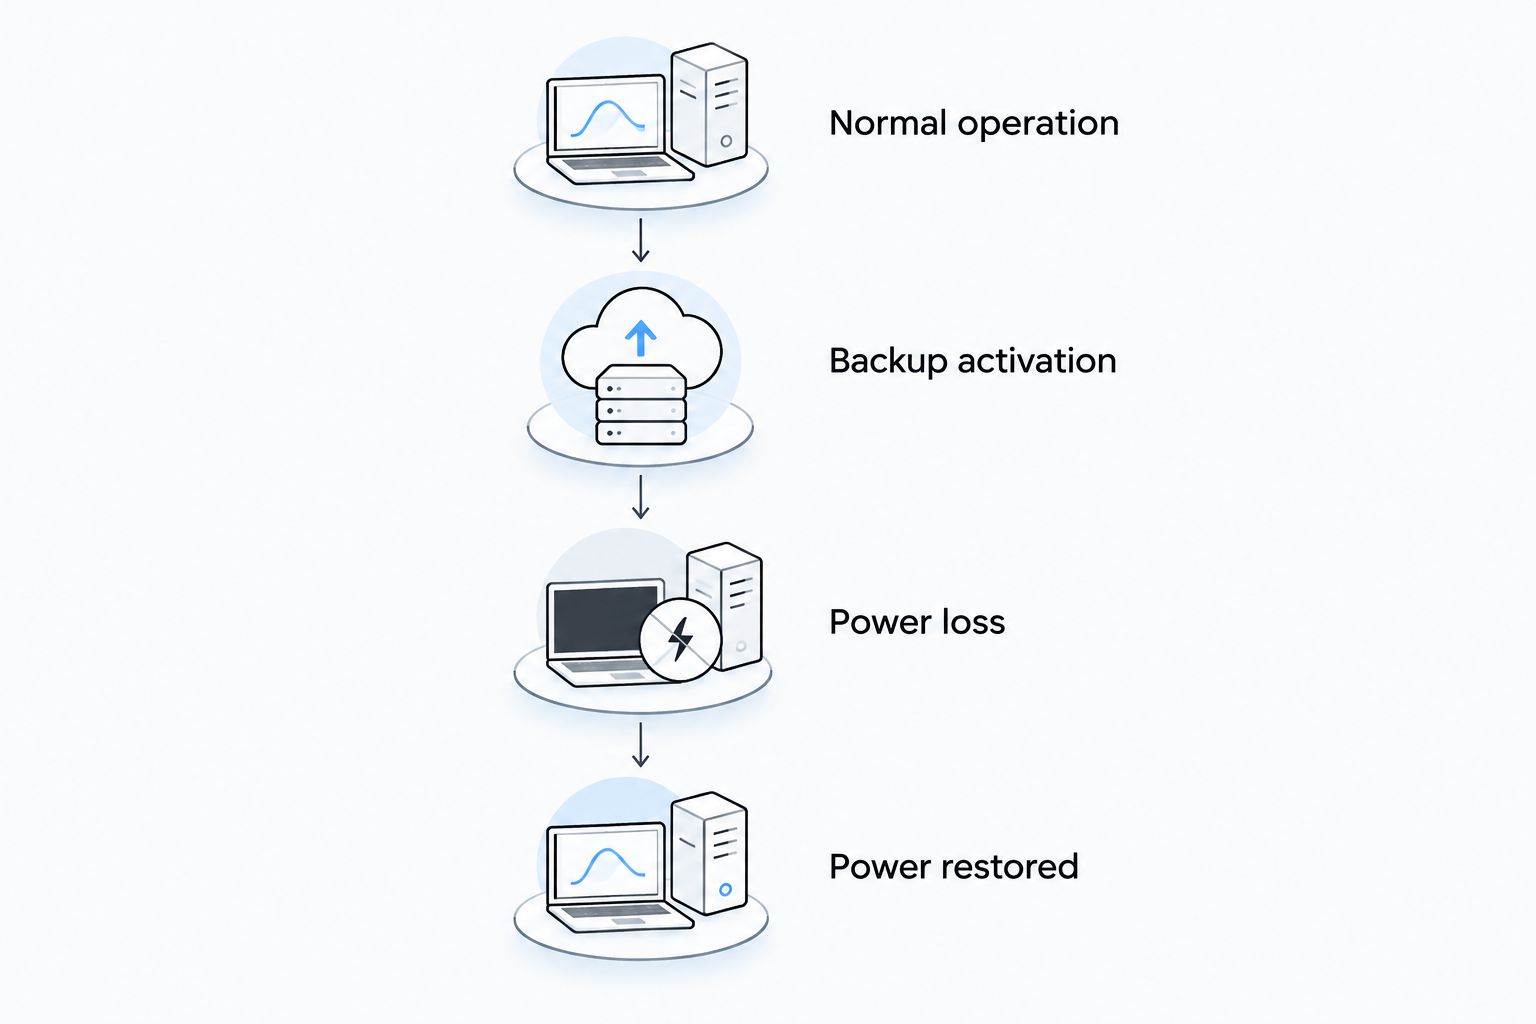
- Normal operation: Add clean water using the approved test method. Confirm that the primary pump starts, moves water outside, and stops normally.
- Backup activation: Use the manufacturer's procedure to test the backup float and pump. Do not hold a float down or obstruct the primary pump to force a failure.
- Power loss: Simulate an outage only through the approved procedure, using a safe, dry disconnection point. Confirm that battery-powered pumping starts and that any expected outage alarm operates.
- Power restored: Restore normal power and confirm that the charger and primary pump return to their expected states. Inspect accessible plumbing joints for leaks.
- Repeat and document: Observe at least 2 complete pumping cycles during commissioning, unless the manufacturer specifies a different procedure. Record faults, unusual sounds, and whether water returns after shutdown.
Expected result: Water leaves the pit during the appropriate tests, the floats move freely, and the system resumes charging after power returns. Do not sign off on your 2026 setup while any fault remains unexplained.
Alternative: back up the existing pump
A purpose-built backup power system changes the power path rather than adding a second pumping path. Choose this option only when the backup manufacturer approves the existing pump.
Follow the device's instructions for connecting the battery, charging supply, and pump receptacle or designated output. Do not connect a loose battery to the pump cord, improvise household wiring, or feed power backward through a wall outlet.
The advantage is less equipment inside the pit. The trade-off is mechanical dependence: a jammed impeller, failed motor, or stuck existing float still stops that pump.
Test this arrangement under actual pumping load using its approved outage procedure. Successful startup matters as much as continued running, because motor startup and steady operation place different demands on backup equipment.
Troubleshooting
| Problem | What to check | Next move |
|---|---|---|
| Backup does not start | Controller faults, battery connections, charge state, and float clearance | Safely isolate equipment before inspection; follow the manual's fault procedure |
| Pump runs but water stays high | Blocked intake, air lock, incorrect check-valve direction, restricted outlet, or inadequate pumping performance | Stop unsafe testing and have the discharge and pump selection checked |
| Pump starts repeatedly after stopping | Water returning through a faulty check valve or continued heavy inflow | Watch the water behavior; correct the cause rather than changing float settings blindly |
| Alarm continues after power returns | Controller message, charging state, and battery condition | Use the manual's alarm explanation; silencing an alarm does not repair the fault |
| Backup works briefly, then stops | Battery condition, charge, compatibility, protective shutdown, and pumping load | Test the battery and equipment using the manufacturer's procedure; do not assume a larger battery is approved |
Persistent trouble calls for diagnosis, not repeated resets. Mainlineplumbingpros connects homeowners with local licensed and insured plumbers for sump pump battery backup installation and related plumbing work; its nationwide service model is not one in-house national plumbing crew.
Customize your workflow
Build your 2026 maintenance routine around the manufacturer’s test schedule, battery-care requirements, and your home's history of water entry. Assign 1 household member to keep the record, with another person able to find the instructions.
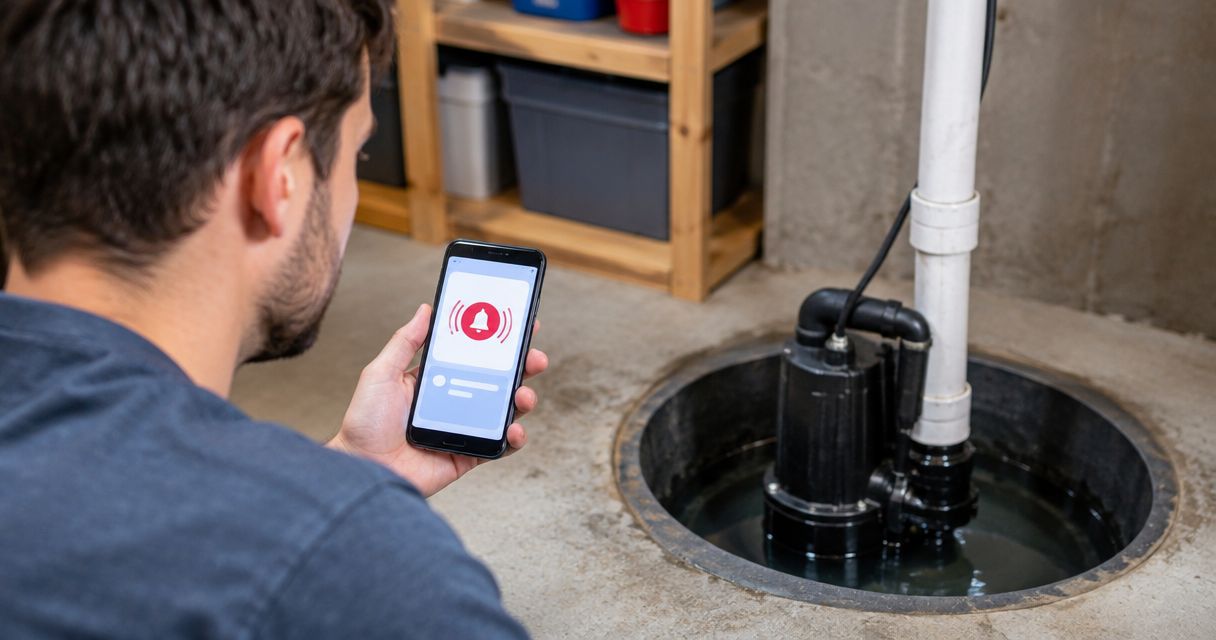
Add a separate high-water alert when appropriate, but distinguish notification from pumping. An alert tells you water is rising; it does not remove water. Remote notifications also depend on the communications equipment they use remaining functional.
Ask the installer to explain how to recognize battery faults, isolate equipment safely, and arrange service. Mainlineplumbingpros offers 24/7 availability for connecting homeowners with vetted local professionals, but electrical alterations still need the appropriate qualified professional.
FAQ
Can I connect my existing sump pump directly to a battery?
No. A standard household-powered sump pump needs a compatible, purpose-built backup power system; a separate battery-powered pump needs its specified controller and battery. Never connect a battery directly to a household pump cord.
Is a separate battery backup pump better than backup power?
A separate battery backup pump adds another pump, while backup power keeps the existing compatible pump operating. Choose based on pit space, pumping requirements, and whether you need protection against primary-pump mechanical failure.
Can both sump pumps use the same discharge pipe?
Both pumps can share a discharge when the manufacturer-approved layout and local requirements allow it. Correct check-valve placement prevents water from flowing backward through the idle pump.
How long will a sump pump battery backup run?
Runtime depends on the approved battery, its condition and charge, the pump load, and how often pumping is needed. Use the manufacturer's runtime information for the specified equipment rather than assuming a fixed number of hours.
Can I install a sump pump battery backup myself?
Install it yourself only if you can follow the complete manufacturer-approved procedure safely and local requirements permit the work. Hire qualified professionals for unfamiliar piping, electrical changes, or unsafe access.
Where should the backup float sit?
Position the backup float according to its installation manual, generally above the primary pump's normal operating level and below overflow. Confirm that the float cannot catch on a pipe, cord, pump, or cover.
Does a battery backup fix a frozen discharge pipe?
No. Battery power does not clear a frozen or blocked discharge pipe. The water exit needs inspection and correction before either pump can work properly.
One last thing
A backup pump can run and still fail to lower the water. Before closing your 2026 installation record, verify the actual outlet during a pumping test—not just the noise inside the pit.
Book sump pump backup installation or an inspection through Mainlineplumbingpros. Ask the local professional to confirm compatibility, discharge routing, automatic activation, and power-loss operation before the job is complete.
Book sump pump backup service
Connect with a vetted local licensed and insured plumber to assess your sump pump backup setup.